and reduce the use of antibiotics on your farm
Perform a good milking routine
Wearing gloves
Reduces transmission of contagious bacteria
You should:
- Opt for latex-free gloves to avoid the risk associated with latex allergies.
- Choose the thickness and the length offering an adequate protection, fitting well on your fingers and permitting natural movement of the hand.
- Include this practice in your teat sanitation protocol and require that all milking attendants wear gloves during milking.
- Disinfect gloves regularly during milking with an alcohol towel or with some udder wash solution.
- Avoid touching any surface other than the cow’s teats or the milking unit.
- Dispose of gloves after every milking.

Forestripping
Flushes out bacteria from the teat canal
Improves clinical mastitis detection
Stimulates the milk letdown reflexand milk flow
Make sure that all milkers are familiar with this procedure:
- If teats are very dirty, clean them first.
- Strip foremilk (3 strips per teat) before cleaning the teats with udder wash solution. Strip before or just after the pre-dipping (avoid to remove too much of it) but always before drying.
- Use a strip cup or a dark-bottom container to make it easier to detect clots in the milk. In the milking parlour, if forestripping is done on the floor, do not hose down the floor when cows are in the parlour but only between strings of cows.

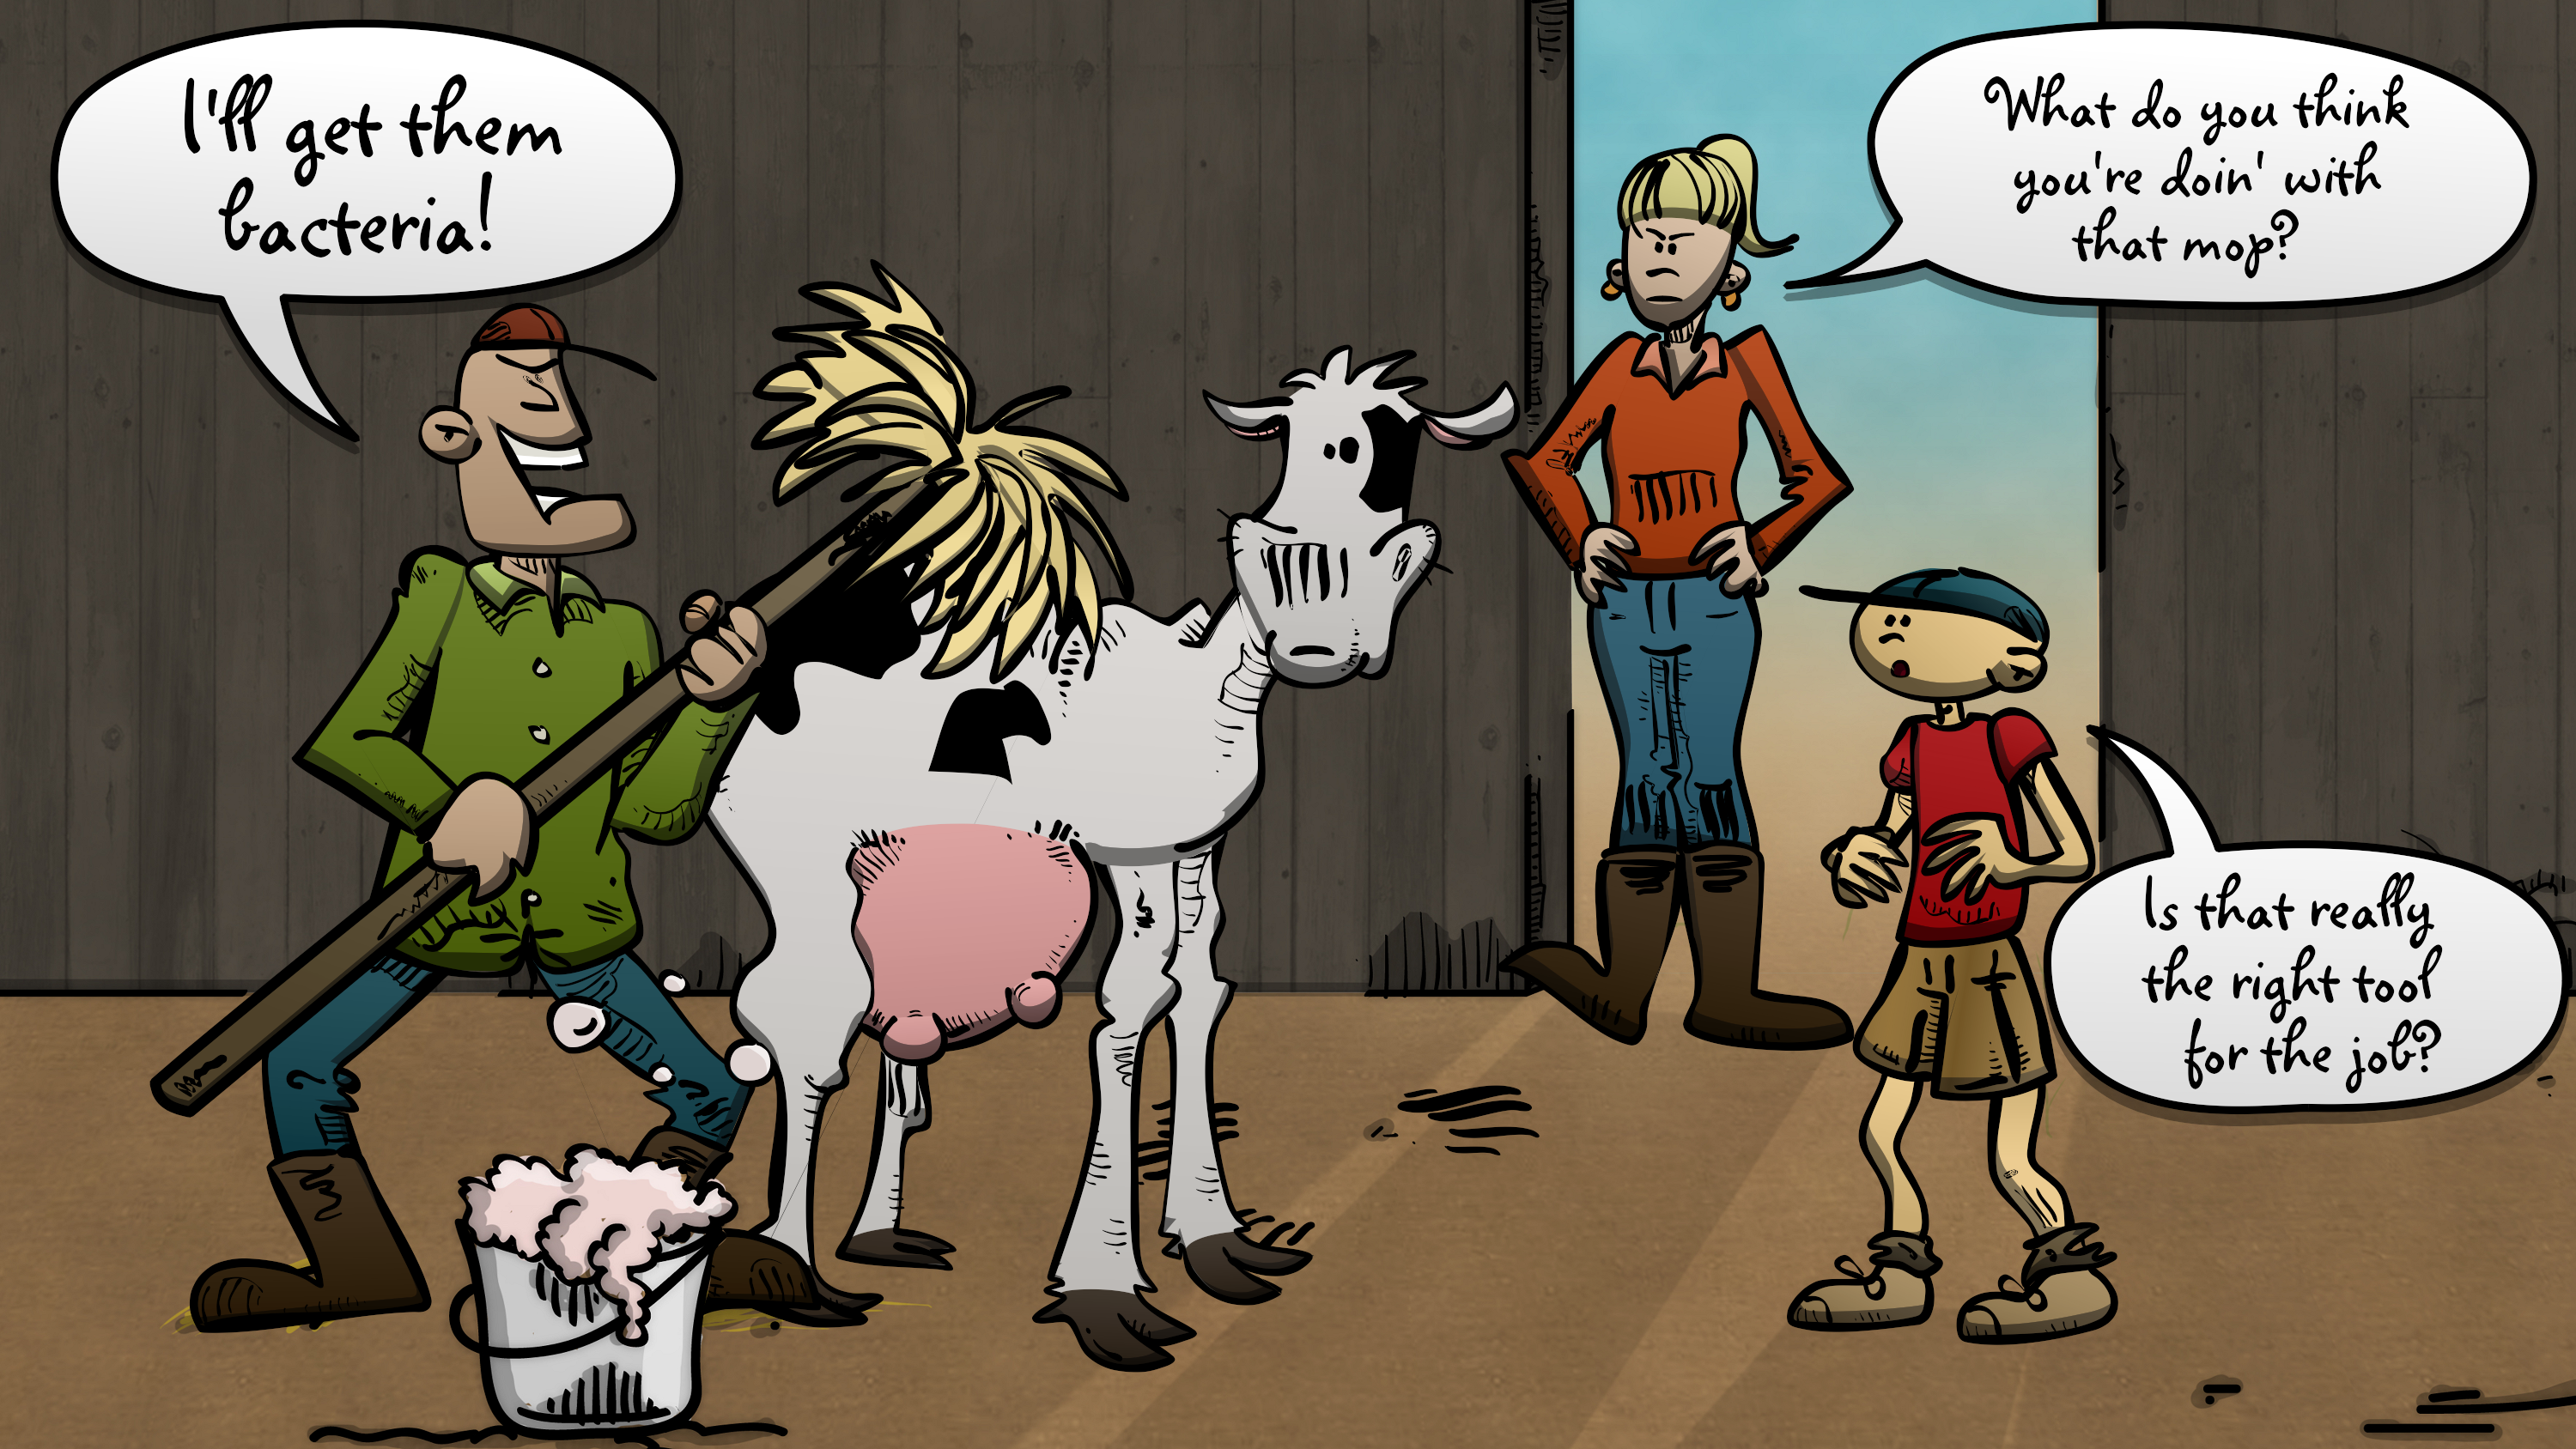
Udder preparation
Stimulates the milk letdown reflex
Reduces mastitis incidence
Things to keep in mind:
-
Even clean looking teats must be wiped to reduce the number of bacteria.
-
Choose a disinfectant approved by Health Canada (DIN number on the label).
-
If you use two different products for pre-dip and post-dip, be sure that the products are compatible. Post-dips should not be used as pre-dips unless they are clearly approved for that use. Clearly identify teat dip bottles and cups.
-
If used, the pre-dip must remain in contact with the teats for 30 seconds.
-
Wipe each teat from top to bottom in a circling motion. Finish by rubbing each teat end with a clean section of the towel.
-
Dry teats thoroughly before attaching the milking unit.
-
Make sure to wait 60 to 90 seconds between start of udder preparation and milking unit attachment.
Post-dipping
Kills bacteria on teat ends by using a post-milking teat dip or spray
Do not forget to:
-
Use products with a high concentration of skin conditioner for a better teat skin condition.
-
Always cover the entire length of the teat.
-
Use teat dipping rather than teat spraying because it permits better coverage of teats by the disinfectant product.

Focus on milking equipment
Reduces the risk of transmitting mastitis
Maintains good teat condition
Enhances cow comfort during milking
Ensures a quick and thorough milking
Make sure to:
-
Replace liners according to the manufacturer’s recommendations.
-
Have the entire milking system regularly inspected (at least 1 or 2 times per year or as frequently needed) by an objective person who has the appropriate tools.
-
Insist to receive a comprehensive written report by a qualified inspector.
-
Make corrective actions (even minor!) immediately.

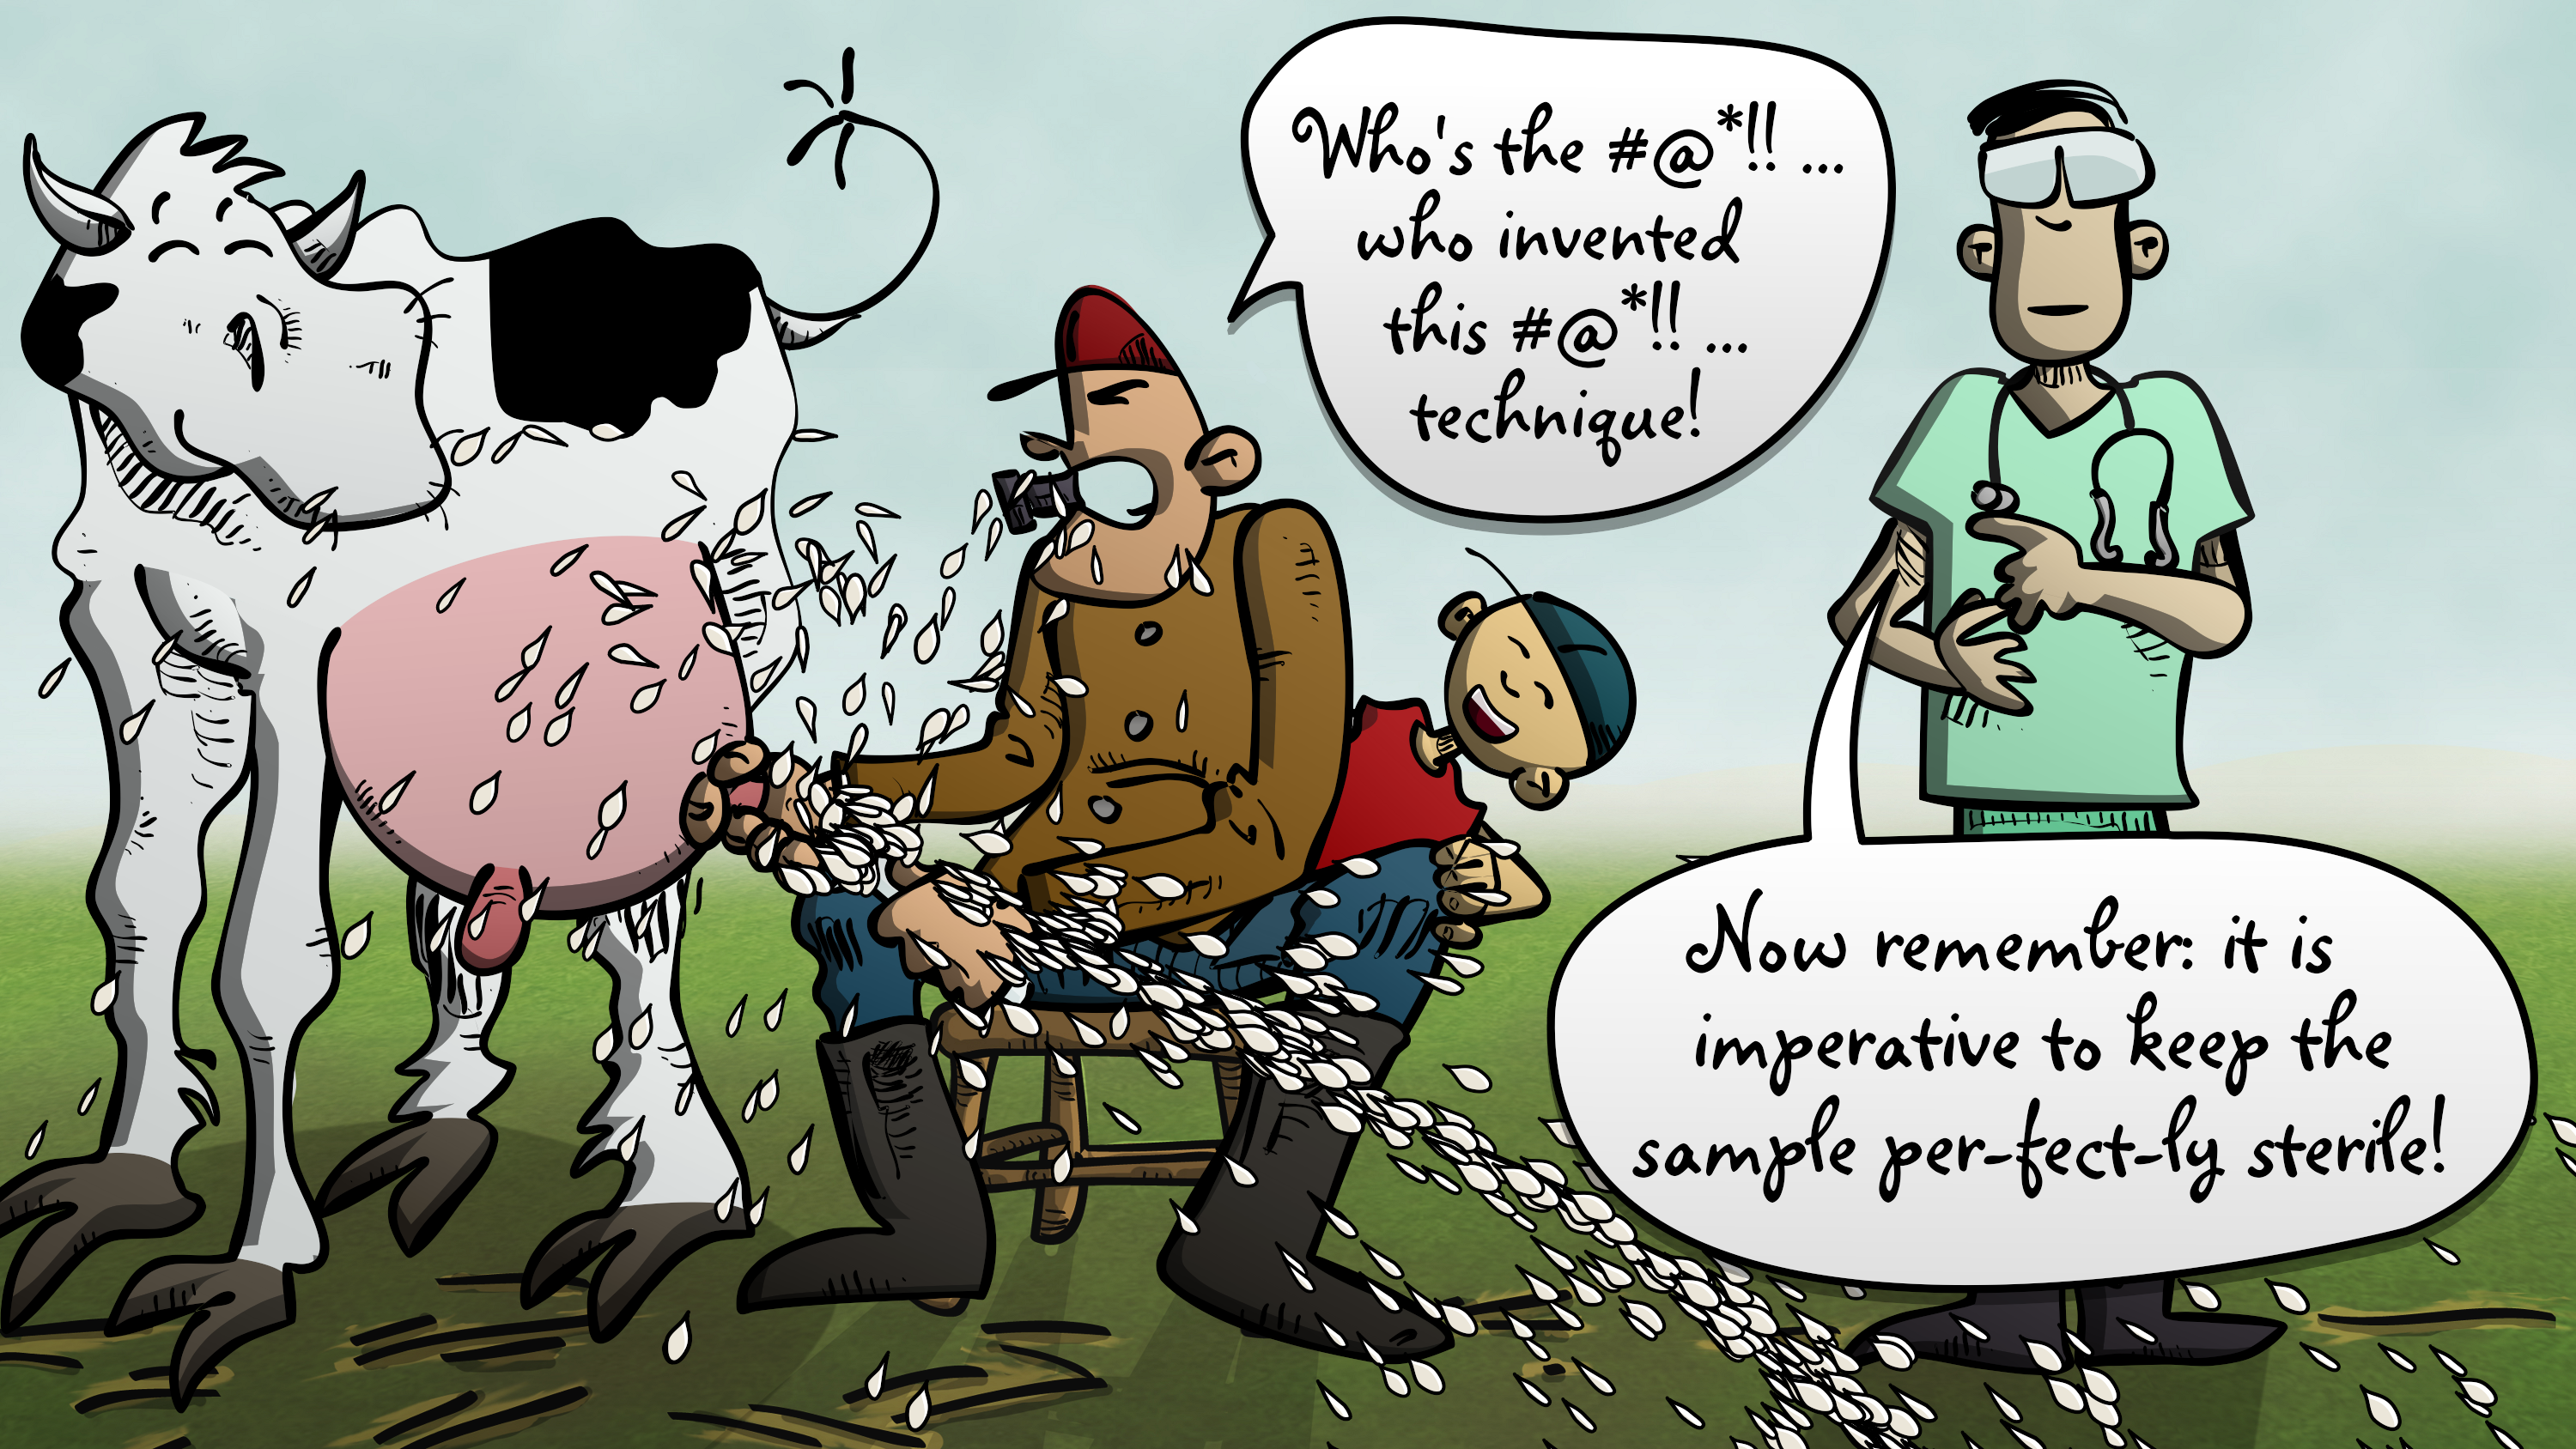
Bacterial analysis is the key
for mastitis diagnosis
Detects and confirms mastitis cases
Determines pathogens in cause
Helps choosing the most efficient treatment
You should:
- Systematically collect milk samples from each cow at the beginning of lactation, or at the very least, from CMT positive quarters.
- Collect samples from quarters with visibly abnormal milk to identify pathogens.
- Collect samples from cows with a high SCC during lactation.
- Whenever possible, collect samples prior to milking to enhance the sensitivity of the test.
- Send the samples to a lab or use an on-farm culture system with the support of your veterinarian, for results in 24 hours.
Success comes from treatment strategy
Using antibiotics
Reduces the duration of infection
Limits its spread and complications
Increases the cure rate
Use this strategy:
- Consult your veterinarian to establish a written treatment protocol including approved antibiotics.
- Collect and freeze a milk sample for bacteriological analysis, before initiating treatment on clinical mastitis cases. This sample could later be sent to the lab if the treatment fails.
- Record all the clinical cases of mastitis and the treatment used.
- Utilize bacteriological analysis as needed, to confirm the cow’s recovery from infection.
If you decide to refrain from using antibiotics:
Observe the progression of mastitis symptoms and implement alternative therapies: anti-inflammatory, ointment, massage and frequent milking when the infectious status of the cow is:
- Known as a chronic case not responding to treatment.
- Infected with a bacteria that will show little response to treatment.
- Infected with a bacterium that can be cleared efficiently by the cow (i.e. pathogens with high self-cure rates like staphylococci (CNS) or Corynebacterium spp).

Dry-off treatment
Reduces the risk of new infections during this period
Cures existing infections at dry-off
Follow these steps:
- Consult your veterinarian to establish a written treatment protocol at dry-off.
- Treat all dry cows with an approved dry cow intramammary antibiotic.
- Selective treatment at dry-off based on milk culture could be a valid alternative in some herds with a good control of contagious mastitis and a low SCC. Always consult your veterinarian before considering this alternative.
- If recommended by the veterinarian, use an internal teat sealant.
- Record all treatments.
- Verify the effectiveness of the dry-off treatment by reviewing SCC and bacteriological analysis results from the first post-calving milk test.

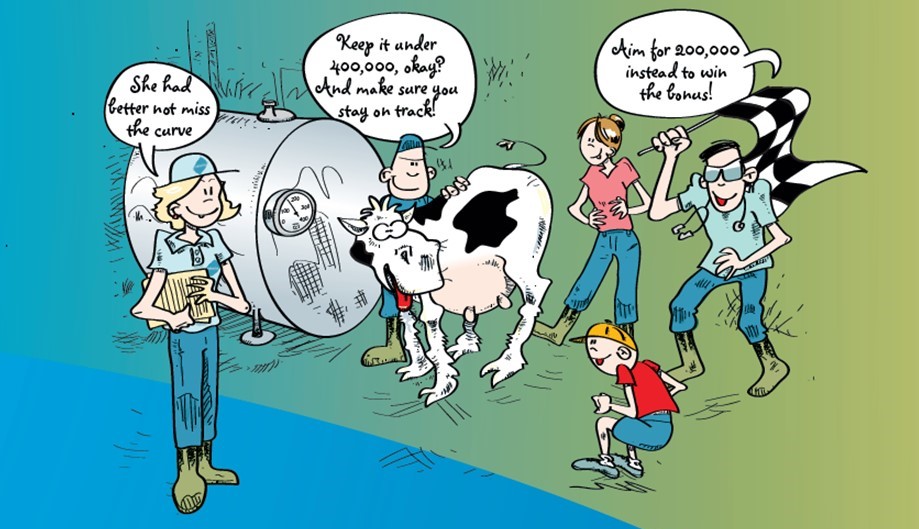
Team work is a winning plan!
To lower your SCC level and to reduce use of antibiotics:
- You need to work with a team that is dedicated to supporting and advising you.
-
You need to apply management practices correctly in order to get the expected results.
-
Your veterinarian, as well as advisors and other experts, can help you set up a winning plan.
